
First off, Happy Thanksgiving everyone! I will be eating turkey legs and mashed potatoes. You guys?


It's meant to hold 4 DS sized eyeshadows comfortably. Approximately. So, 4 Revlon Matte shadows, 3 covergirl + 1 almay etcetcetc. But, if you NEED more, then (i've tried) you can fit up to 3 Revlon matte eyeshadows (side by side no space in between) and 2 HIP duos. So you always have enough!

2. Now, I will be dealing with all the pieces except the TOP okay? Okay! Cut out all the pieces, and really make sure that they fit well together. This is especially important because then they'll have a seamless fit. Wrap them in nicer paper so it's not ugly.
Anyway, I was just thinking about making a small makeup case for myself (I will do a tutorial on that as well, like months later) so if I ever do a sleepover or a small weekend trip with my friends, I'll have a nice carrying case for myself instead of doing the ziplock baggie method. But, I have depotted all of my shadows, becuase I don't have that much space in my room or my mini traincase. Most shadow packaging is like GINORMOUS. It's like yes, thanks company for using 2x as much plastic that is actually necessary. So, I depot. Same with lipsticks. I like to put darker lipsticks in small pots. It reduces the space necessary to store them by like literally, 300%. Yeah yeah, you need a lip brush but you know what? Give some take some.
Like I was saying. I use a discarded CD case as my palettes and they're kinda heavy and large. Too large to just shove in a small bag right? So I decided to make a tutorial on how to make a travel-size one. Pictures then tutorial:


It's meant to hold 4 DS sized eyeshadows comfortably. Approximately. So, 4 Revlon Matte shadows, 3 covergirl + 1 almay etcetcetc. But, if you NEED more, then (i've tried) you can fit up to 3 Revlon matte eyeshadows (side by side no space in between) and 2 HIP duos. So you always have enough!
Instructions:
1. See the template and cut out pieces accordingly. I used thick cardboard so it's sturdy.

2. Now, I will be dealing with all the pieces except the TOP okay? Okay! Cut out all the pieces, and really make sure that they fit well together. This is especially important because then they'll have a seamless fit. Wrap them in nicer paper so it's not ugly.
3. Take the base and cover it with sheets of magnets. You can use those cheap magnets that they give away at libraries, etcetcetc. Or you can go to a craft store and buy a magnetic sheet. It's important that it's a SHEET not those little circle-y things so that it lays as flat as possible.

4. Now, use a hotglue gun and glue all the sides (except the top!) together.

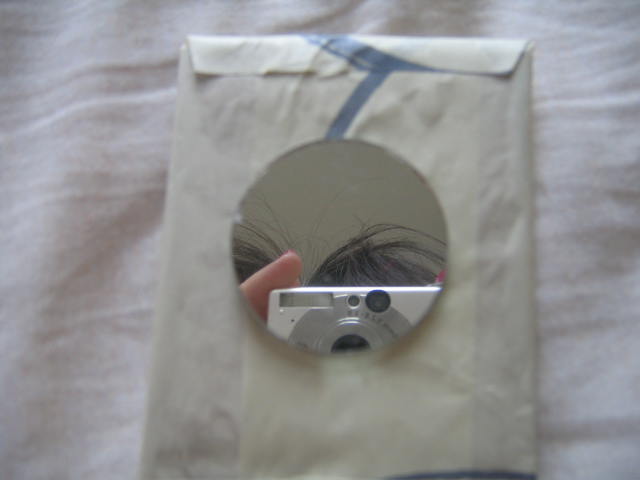
5. Now, measure again to make sure that the top fits perfectly. Wallpaper. Glue a button for the handle on the top. Also, take a small mirror that is sorta flattish and glue it on the other side. I used a mirror that I ripped off the HIP duo packaging.
6. Put it lightly on top of the actual box thing. Leave a little gap. Take a piece of duct tape and tape the top to the box. Open the box and repeat so that the gap is all covered by tape.


7. Okay! Almost done. Take another piece of tape and tape a piece of string to the lid as so:

8. Voila! Done! It fits in the palm of my hand at least.
Toodles<3
5 comments:
thanks for always dropping by my blog,hun
im sorry if i haven't been commenting lately, but i do read your blog
*hugs*
i think this is a pretty nice idea!
it will save us more money to personally made it compare if we are going to buy the magnetic pan that was the hype a couple of months ago..
honestly, i can't imagine spending $50 (more or less) just to buy magnets if we can do something like this,right?
^_~
ps:
how was your thanksgiving,girl?
hope it was great!
Aww thanks Thiamere! I love your blog and I always read. I know! I cant imagine spending like 20 bucks on a plastic small case that only fits a certian shape of eyeshadow (circles for example).
My thanksgiving was great! I hope that you're was super too!
Such a thrifty idea *beefy* :)
I'm too lazy to use makeup everyday!! But will try to use the pencils more often though.. Thanks for the comment hehe~ <3
LOL thanks... uhm.... mika-eyy... I will be watching for your pencils!
very crafty and creative=D
Post a Comment